- DCEmu Network Home
- DCEmu Forums
- DCEmu Current Affairs
- Wraggys Beers Wines and Spirts Reviews
- DCEmu Theme Park News
- Gamer Wraggy 210
- Sega
- PSVita
- PSP
- PS4
- PS3
- PS2
- 3DS
- NDS
- N64
- Snes
- GBA
- GC
- Wii
- WiiU
- Open Source Handhelds
- Apple Android
- XBOX360
- XBOXONE
- Retro Homebrew & Console News
- DCEmu Reviews
- PC Gaming
- Chui Dev
- Submit News
- ContactUs/Advertise
Social Media |
|
Facebook DCEmu Theme Park News Wraggys Beers Wines and Spirits Youtube Wraggys Beers Wines and Spirits DCEmu Theme Park News Videos Gamer Wraggy 210 Wraggys Twitter |
Links of Interest |
|
http://www.testking.com http://www.envisionwebhosting.com/ braindumps.net http://www.examsking.com http://1-hit.com/ |
The DCEmu Homebrew & Gaming Network |
|
DCEmu Portal |
DCEmu Newcomers |
||||||||||
|
||||||||||
|
Forum Info |
| Users online: Guests online: 4104. Total online: 4104. You have to register or login before you can post on our forums or use our advanced features. Total threads: 209,466 Total posts: 753,286 |
Buy Nintendo |
|
Nintendo Wii 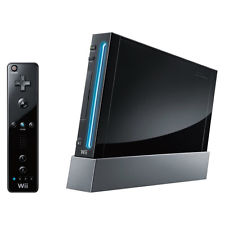 NES
NES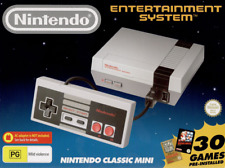
|
Advert |

